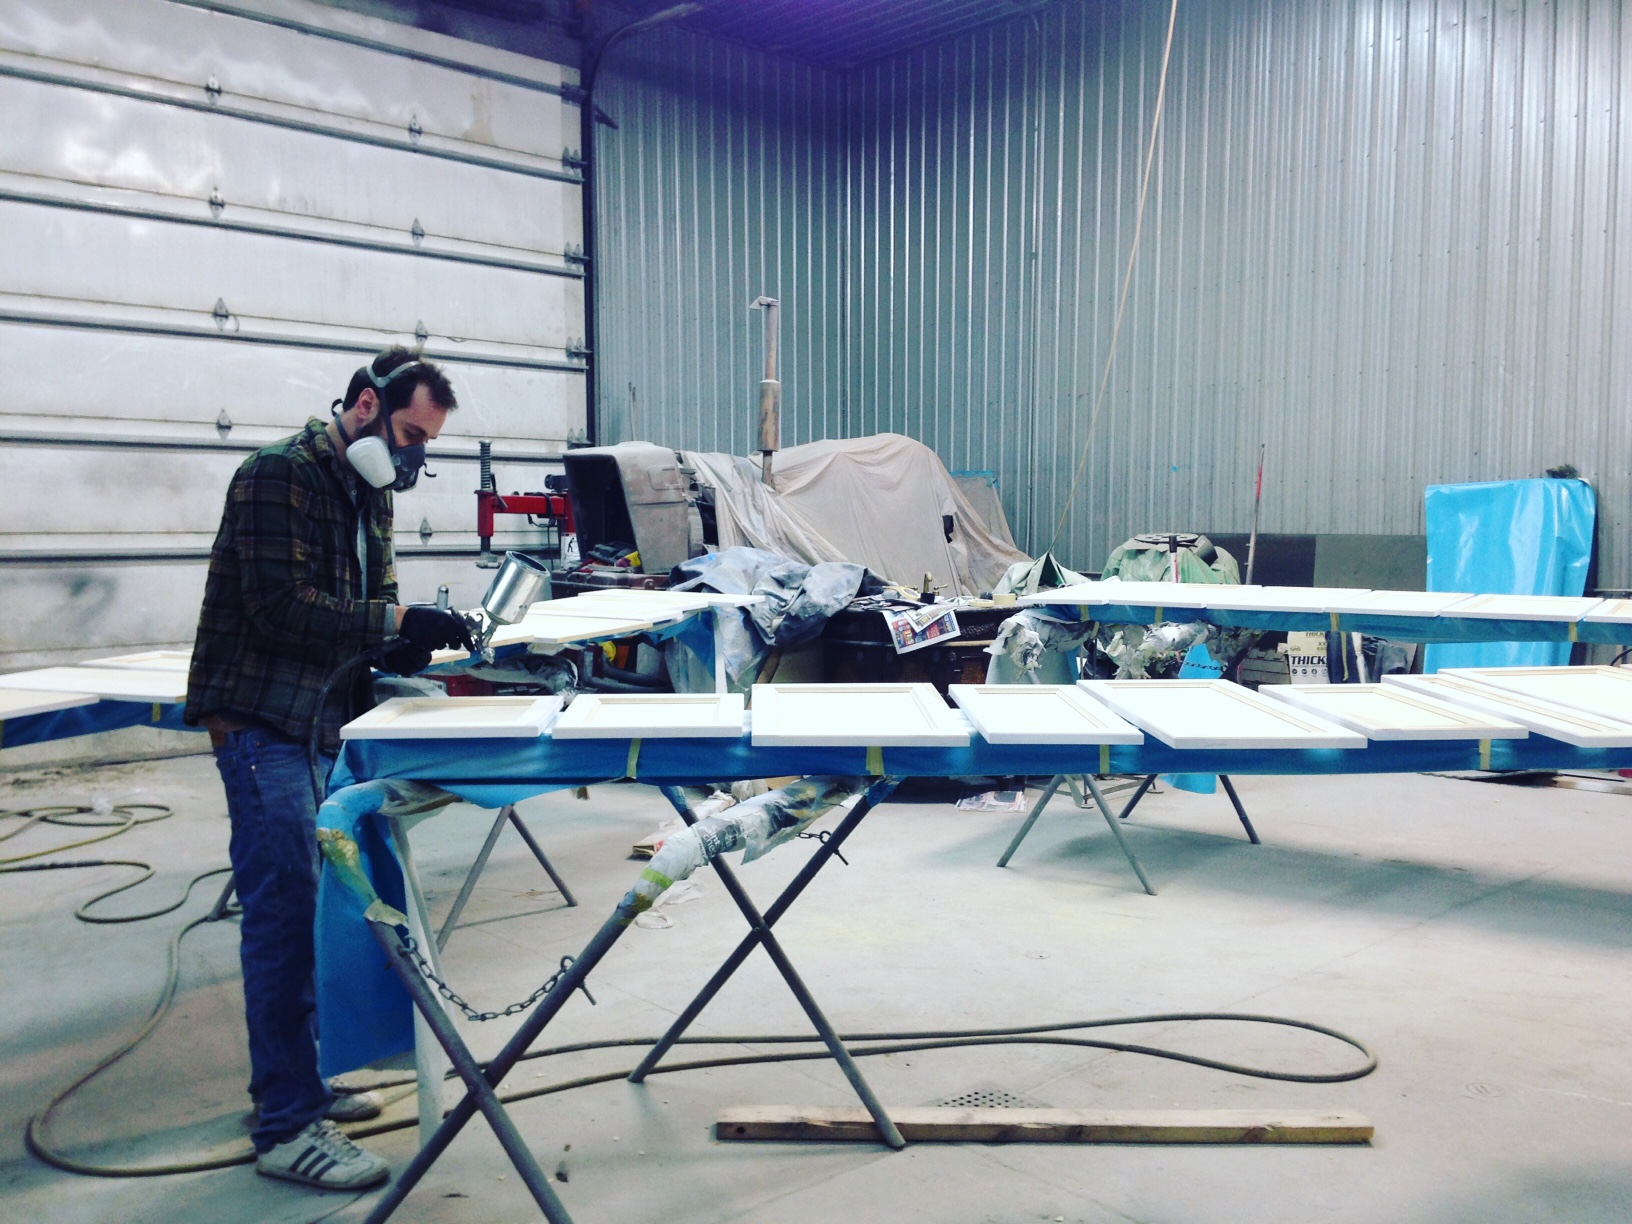
 On a regular basis, I hear people casually claim, "I'm such a perfectionist." However, I've come to realize that most who claim to be perfectionists are either fair-weather ones or people who have a tendency to exaggerate. That said, Kyle is a perfectionist painter. It may be because Kyle is around paint so much in his line of work, but the time and attention to detail he devoted to our kitchen cabinets is nothing short of that of a perfectionist. Aside from drying wait times, in which he ate and caught snippets of his Giants game, Kyle spent morning until night until morning again-- Sunday right into Monday (3 a.m. Monday to be exact), prepping the shop, sanding, and spraying coat after coat of primer and paint on all of the doors for our cabinets. I paid a visit to the shop late Sunday afternoon to see how it was going. I was curious about how the spray gun worked and what the set up would look like. On walking into the space, I was shocked by how extensive the process is. Kyle had to empty a huge span of the shop of its vehicles, increase the heat so that the paint dried properly, and lay all of the cabinet doors out on stands so that he could evenly paint, dry, and flip them to do both sides. While there, I watched as he carefully measured out the paint and poured it into the spray gun. The spray gun was not what I imagined it would look like; it almost looks like a pistol and the paint is poured into it with a funnel. After, the gun is attached to a long hose and to spray, you have to hold down the trigger and aim over the surface. Kyle wore a ventilation mask, which was definitely needed. Even though I was only briefly in the shop, the chemical smell of the paint was so strong that it stung my eyes and filled my nose. After a very short rest in the early hours of Monday morning, Kyle was up to move the cabinets out of the shop before the workday began and transported them over to 212. He is now understandably exhausted, but the cabinets are done, and, while he would never give himself as much credit, they are perfect. 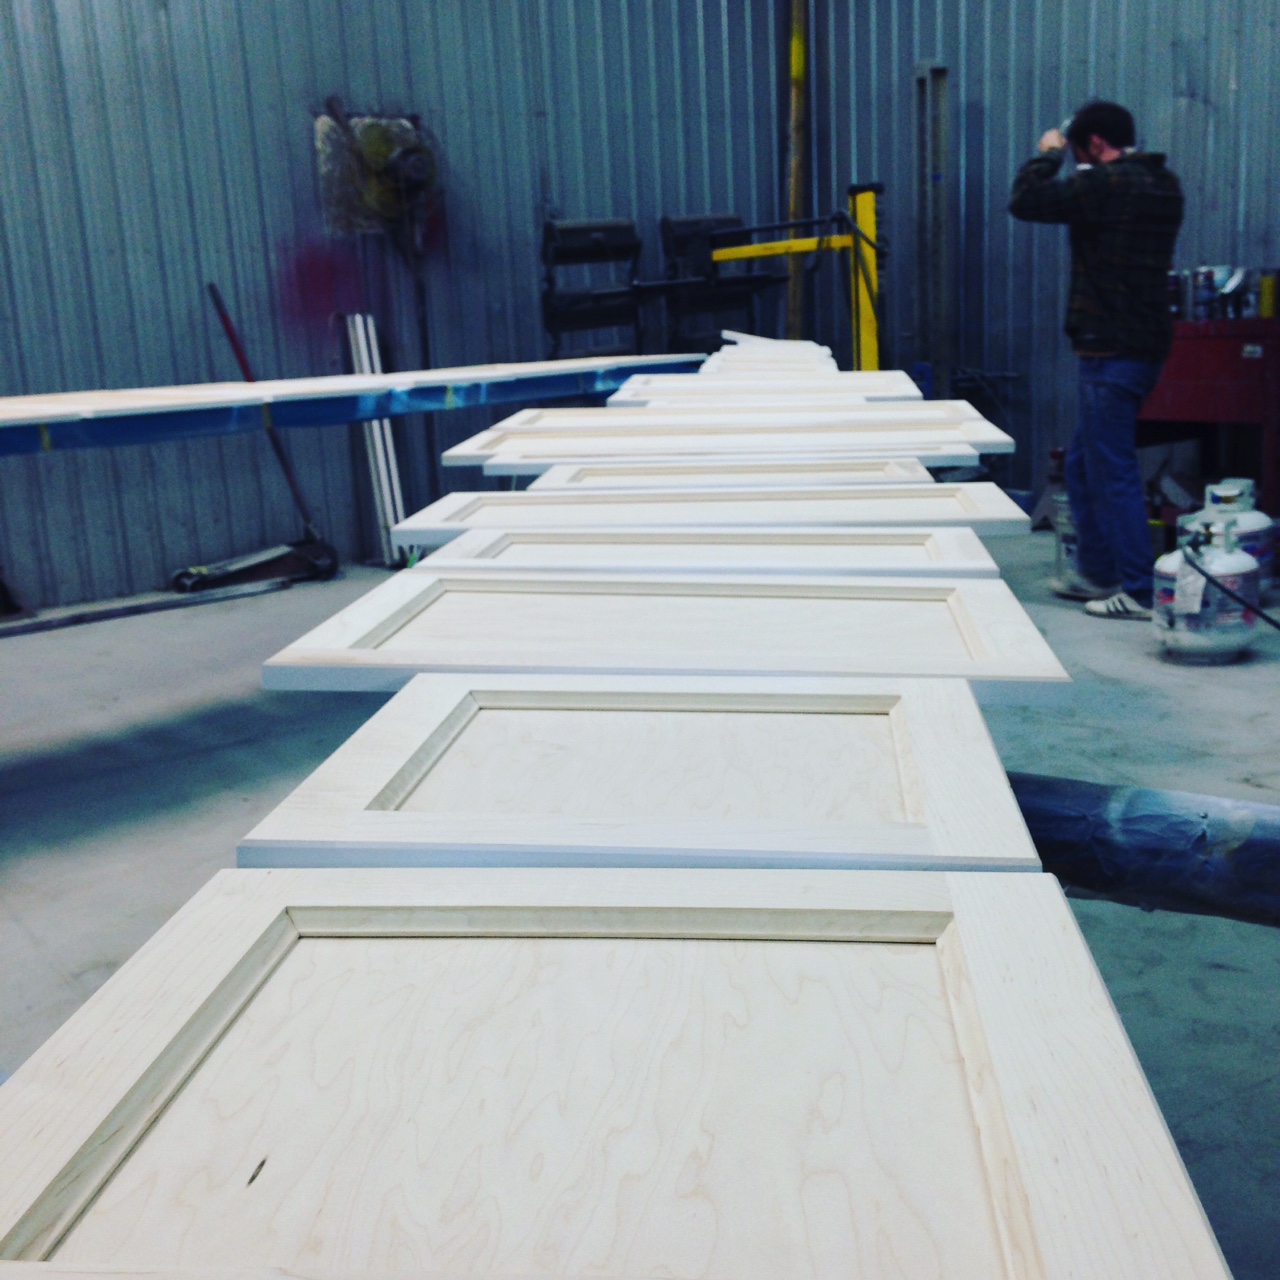 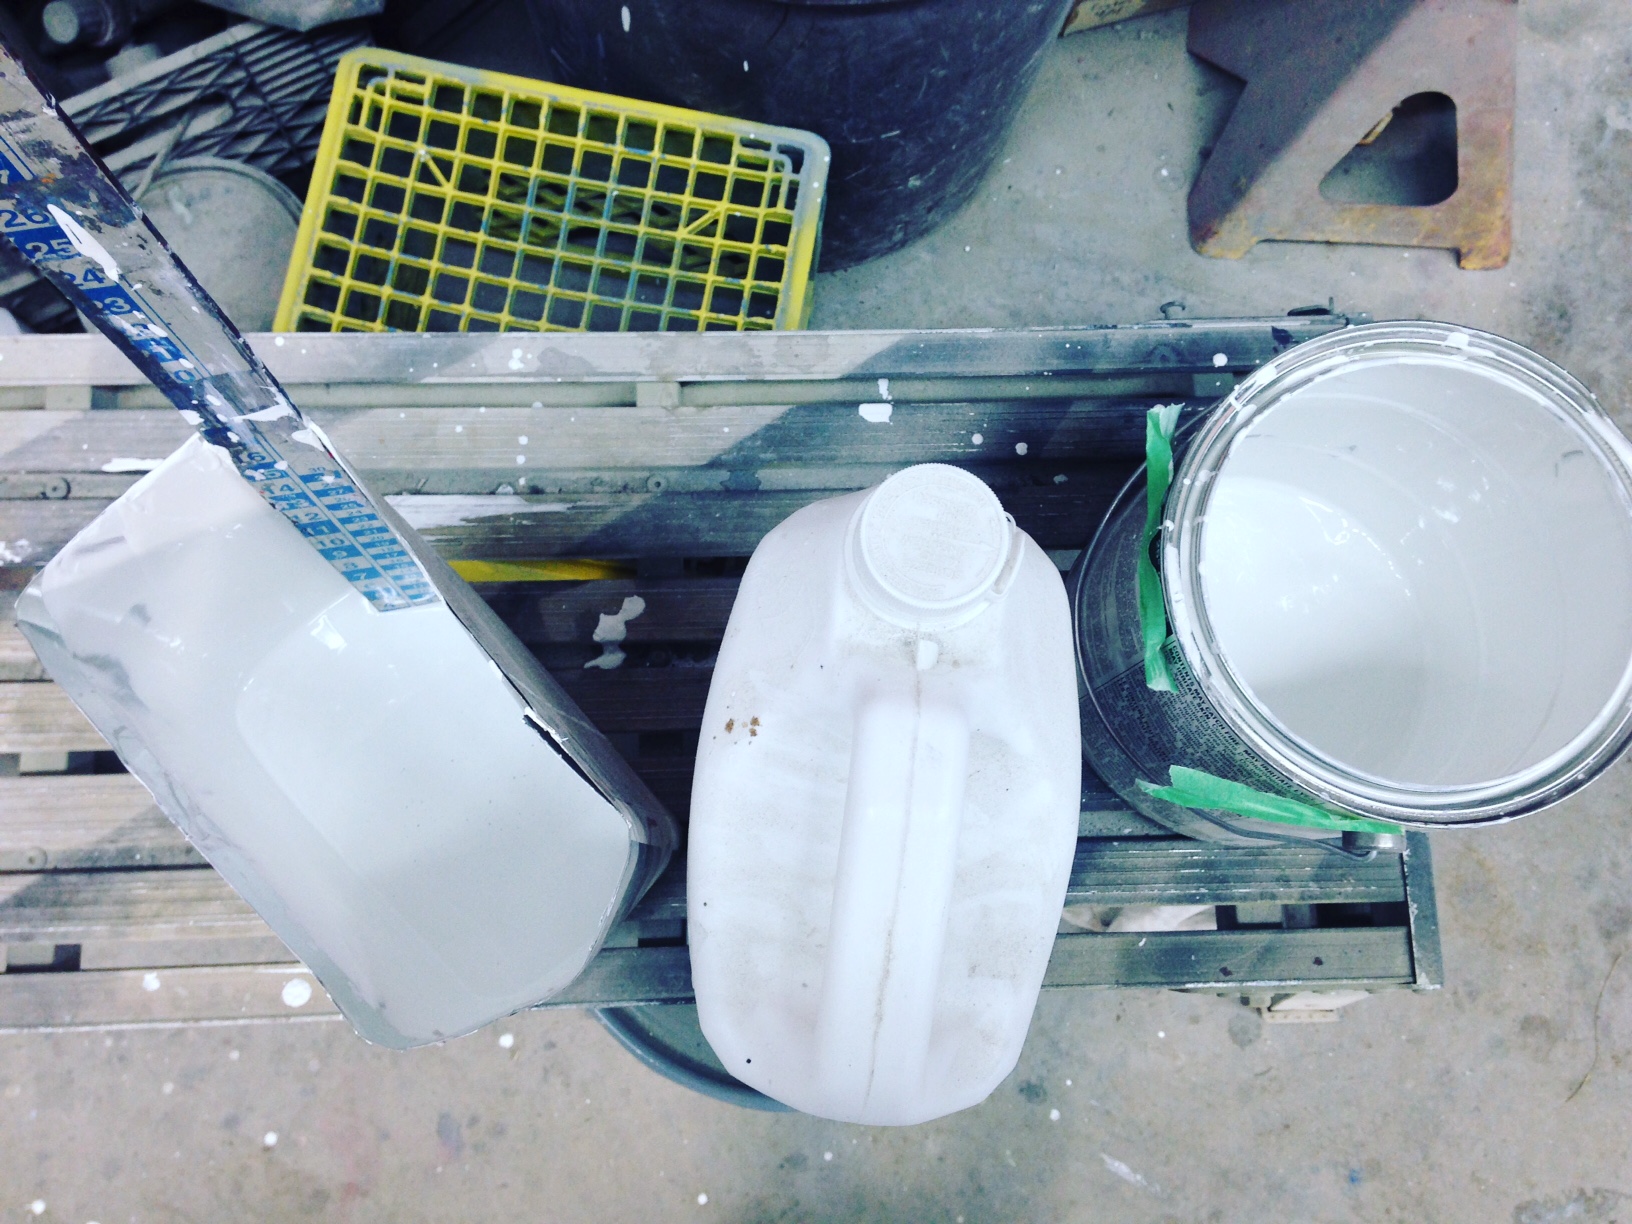 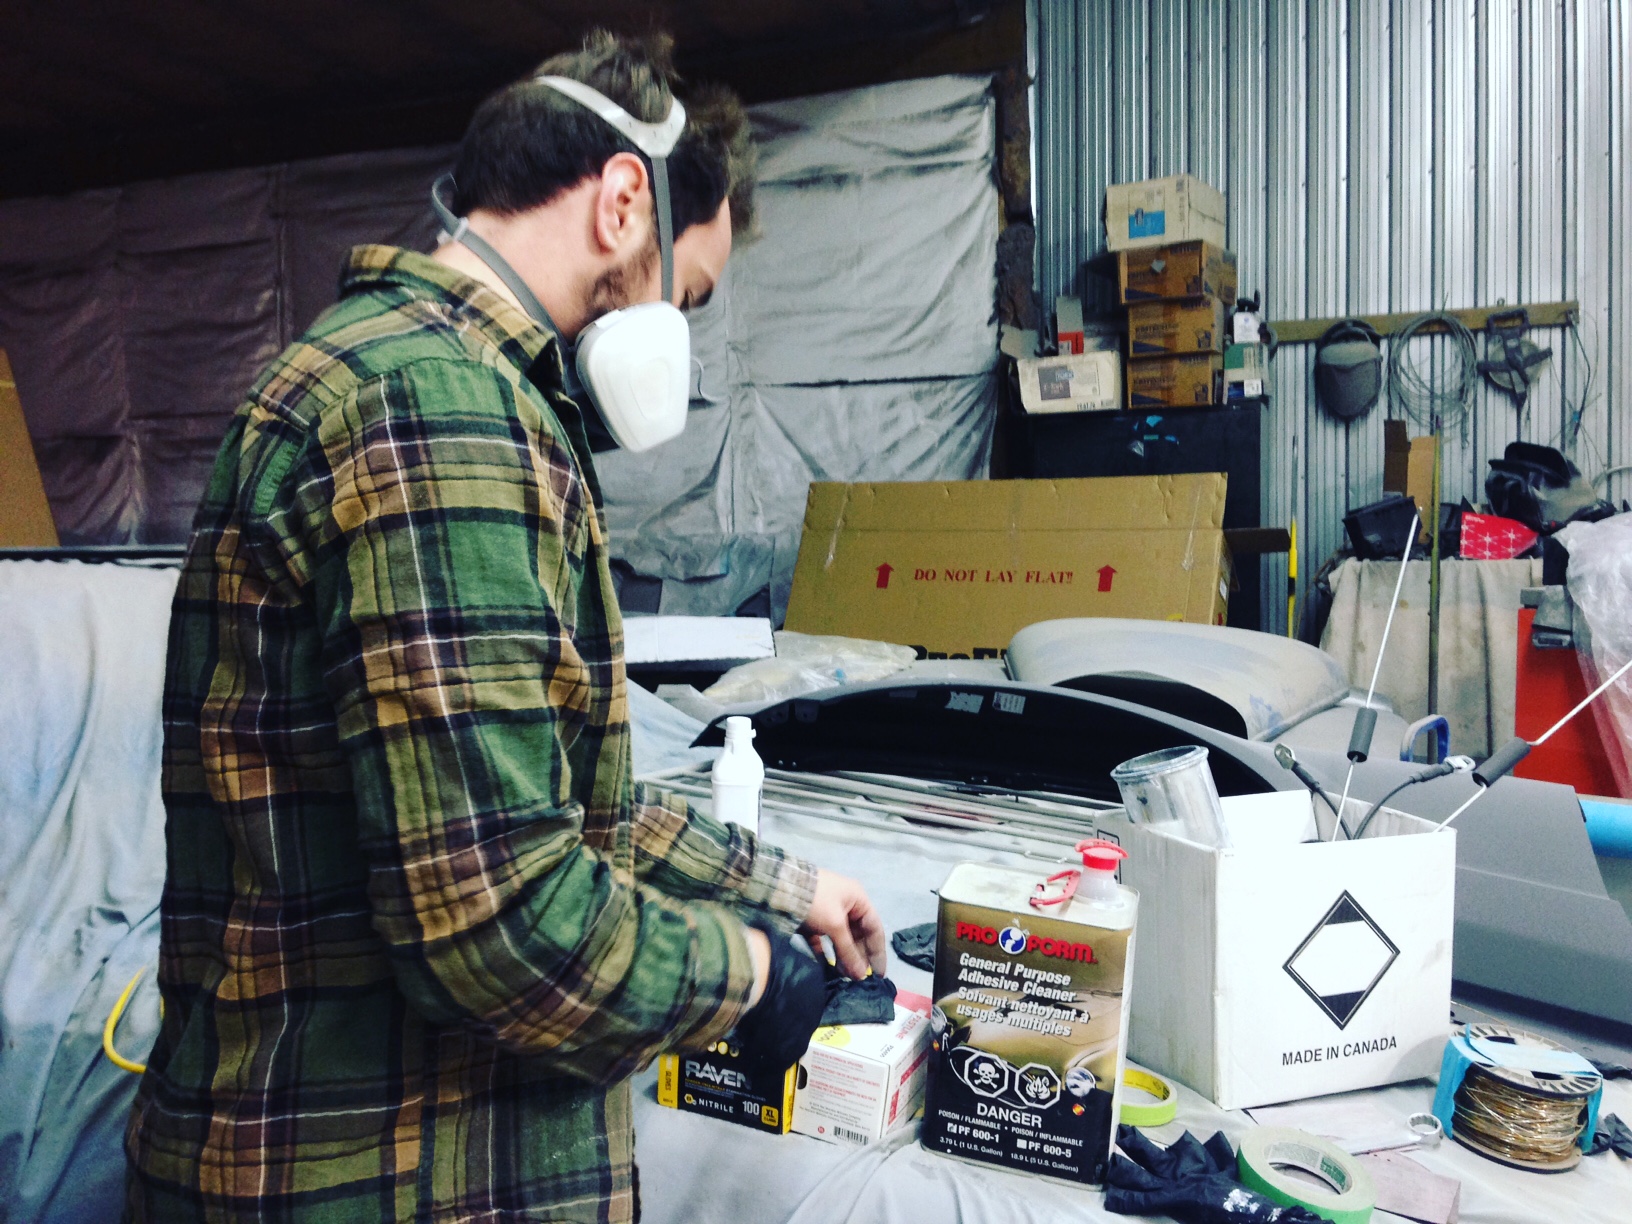
0 Comments
 While the bathroom and kitchen are being tiled and finalized, I am touring furniture stores, looking for cute, but affordable finds for the house. Furnishing a house can easily become a fortune, but there are many sources for deals and creative alternatives to buying new and financing. My favourite furniture find so far is this feminine floral chair. I discovered it in the Collingwood Re-Use It Centre, among rows of other chairs and tables. It is in mint condition and has that sweet, vintage look that I want in my library. This chair is the perfect size for the slanted ceilings and cozy feel of the room, and was only $25.00! In addition to the chair, I found a dresser, which will be used as a TV stand and storage in the living room. The dresser drawers were painted black, with the rest left bare wood, so I primed and painted it a pale blue. Then, to add a pretty touch to the dresser, I found four porcelain drawer knobs with pale blue flowers on them. I love how this detail can uplift and add personality to what was before plain and cheap looking. Here are four furniture/ decor shopping tips I've picked up so far: 1) Look around before committing to a purchase, whether it be a chair or a picture. I almost bought a large print for the living room in the first store I went into. I really liked it and instantly imagined it above the couch on the wall, but my friend convinced me to wait and look around. I am so glad that I did, because later that day at a different store, I found a similar print, but I loved it much more. It was also for a more affordable price. 2) Go for neutrals when buying bigger items or pieces that will be on display all year round. It is okay to add in pops of colour and pattern with details like pillows and throws, because these are easy to change out, but things like tables and chairs and lamps should be easily coordinated with and not too trendy. 3) Find a colour palette for your room from a piece of art. I have decided that I want to make the print I bought a focal point in the living room, so I am going to choose accents (like pillows), that pull out the blues, greens, browns, and golds in it. 4) Take your time when furniture shopping and decorating. It is better to slowly build each room than flood the house with items that may not even work together in the end. 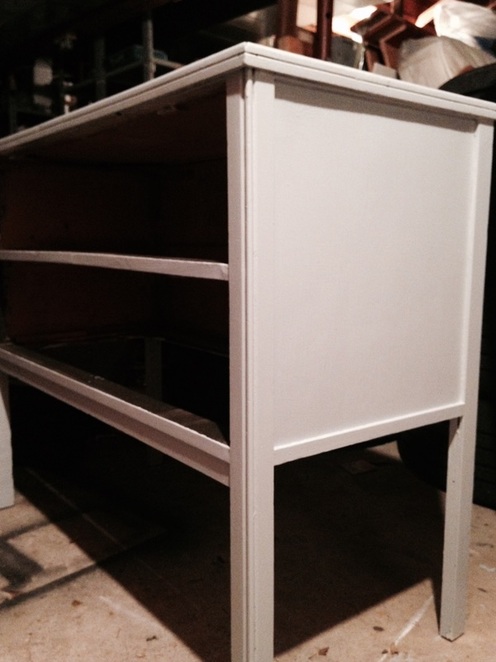  Of course Christmas decor had to be considered. Watch for my holiday finds and my dresser reveal in the coming posts :).  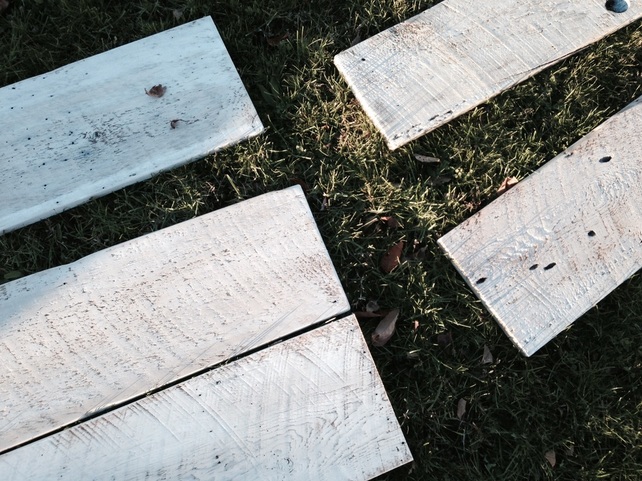 Today my sister and I got out the power tools and did the first real reconstruction DIY project for 212. We used some of the long wood planks that Kyle and I pulled off the walls and made a coffee table for the living room. First, we brushed off the old cobwebs and dust using a damp cloth. Being over a hundred years old meant that the wood was not squeaky clean. After, we measured the boards to make sure that they were all the same length and my sister cut them accordingly. We sanded down the sides using an electric sander and removed any old nails. I was amazed how much of a difference these steps made for the wood's overall appearance! Following the sanding, we white-washed using white latex paint mixed with a little water. Each board was left for a few minutes to dry in the sun before we screwed them to a central board that acts as part of the base underneath. For the table legs I have decided to use steel piping, to give it that industrial look.  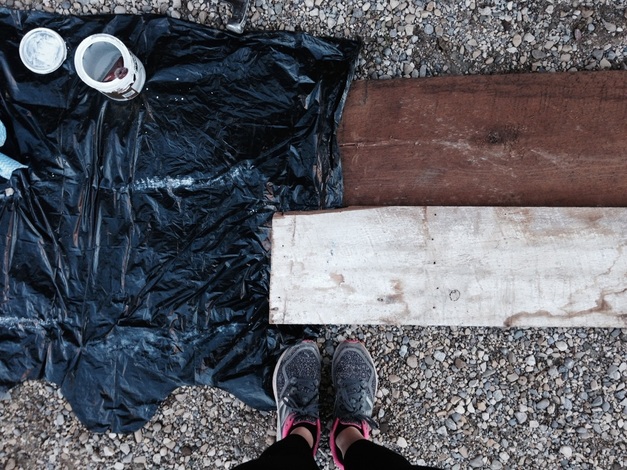 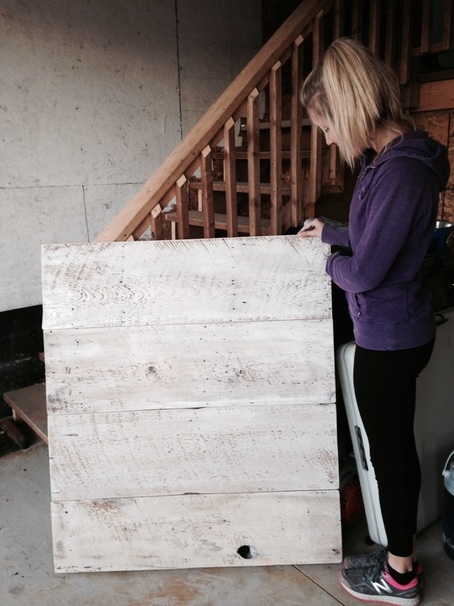 I am so pleased with how the table turned out! I always planned to have a statement piece on the coffee table that told a little about the house, but now the table itself is a part of the narrative. SIDE NOTE: On top of the coffee table construction this weekend, I also attended the Christmas Show at the BMC. I gathered some great home decor inspiration and got to spend time with these two :).   I would like you to note two things in this Halloween picture: Number One- We have hardwood floors! Number Two- We are happily INSIDE our house for Halloween this year! Now before you get too excited, Kyle and I have not yet moved in, but we decided to sparsely decorate our living room with a couple of couches and a TV and DVD player for last night. I have to say that, despite our lack of trim and the overall dustiness of the house, with the lights and heat and some of our dearest friends, it didn't take much to pretend that we had already moved in... Soon! Over the last few weeks, 212 has undergone some major changes. We now have all new windows installed and trimmed. They just need to be capped on the exterior of the house and we are planning on painting the trim on the interior white. I am excited about the look of the window trim, with its decorative edges and deep ledges. Even though the inside of our house is new and modern, for safety and energy efficiency reasons, we still want to have details that honour the age of the house. We have started looking on Kijiji for furniture pieces, like a chair for the library, that will also help us to highlight the Victorian roots of 212. The focus over the next two weeks is the kitchen and upstairs bathroom. Keep watch for our grand reveal this month. I am going to do a "Before and After" for each of the rooms in the house, to see just how much work we've done in the last year. [SIDE NOTE: While I slacked on the Halloween decor this year, with a single Jack' O' Lantern on our sawdust strewn porch, I have already started thinking about dressing it up for the holidays. I will not disappoint ;).]  |
About MeKyle and I just became new homeowners. The house we purchased is not what one would classify as "move in ready"; in fact, it is quite the opposite. Built at the turn of the 20th century, our Victorian style house is both beautiful and terrifying in its ancient status and will be a project in renovation. This is a documentation of our triumphs and lessons learned, as we deconstruct and reconstruct this house. The end result? A space that we can proudly say we created. Archives
December 2016
Categories |
Deconstruction-Reconstruction
 RSS Feed
