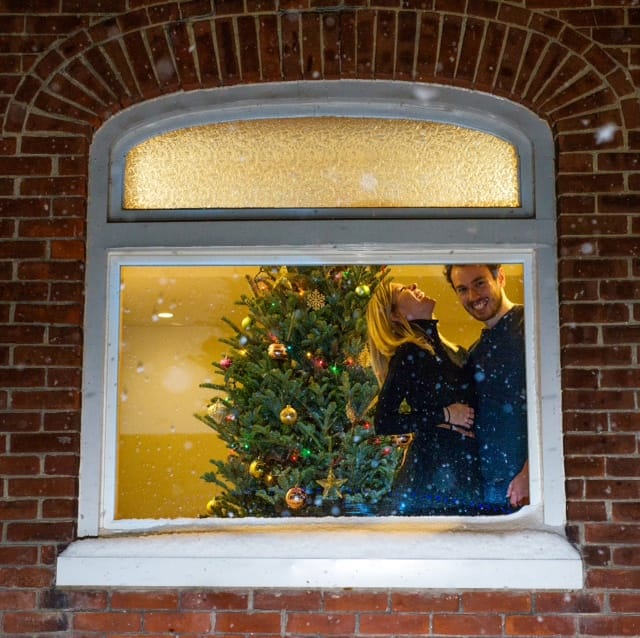
 It is hard to believe that after over a year of grueling renovations, the time has finally come...(cue the drum roll...) Kyle and I are officially moving in to 212 this Saturday-- just in time for Christmas! The past two weeks have flown by, with a kitchen installation, finishing up the tiling in the bathroom, installing doors, and even squeezing in a little holiday decorating. This house has been quite the adventure. I remember first walking through the house with its dated carpets and wallpaper, and eating pizza in the foyer in lawn chairs on our first night of ownership. We entered home ownership with the shiny eyes and naivety of newbies, never imagining just how much the house would test us. There were months of tearing out lathe and plaster, old insulation, and flooring. Then followed a long and extremely stressful winter of re-doing sagging floors and sketchy beams. The summer brought drywall and new insulation, while the fall was laying flooring, painting, and tiling. Now, our house is ready for us and I am feeling so many different emotions, because I honestly had moments where I thought this day would NEVER come. Happiness and excitement and relief are at the forefront, as I look to the weekend when Kyle and I can walk through the front door and hang up our coats and stay. I am also so proud and grateful for all of the work that has gone into this house. The sum of two families and a collection of good friends and neighbours is really what 212 represents. In a world bogged down by the negativity, our house is a testament to the kindness of others. This Christmas, I am so thankful for those people, for this house, and to finally be able to enjoy it with my favourite person, Kyle. Merry Christmas to everyone who follows this blog! May you enjoy your own community of people and home this holiday! *** Epilogue: While on one hand this is a grand finale of sorts, on the other it merely marks the end of chapter one and the beginning of chapter two. We will happily be working away on finishing touches, but now as residents of 212 :). 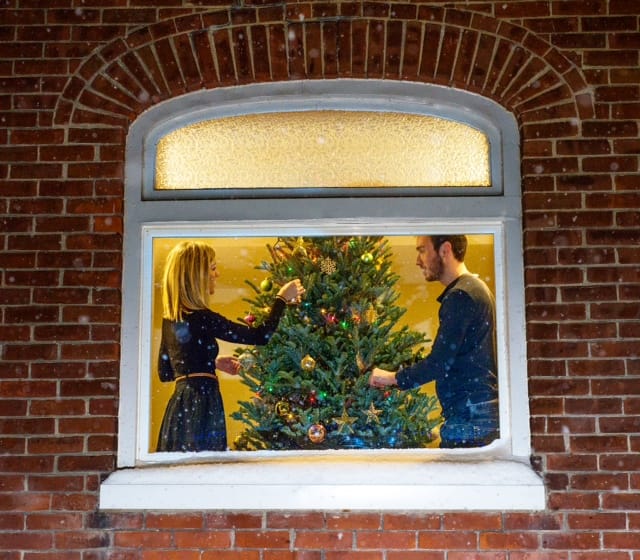 
0 Comments
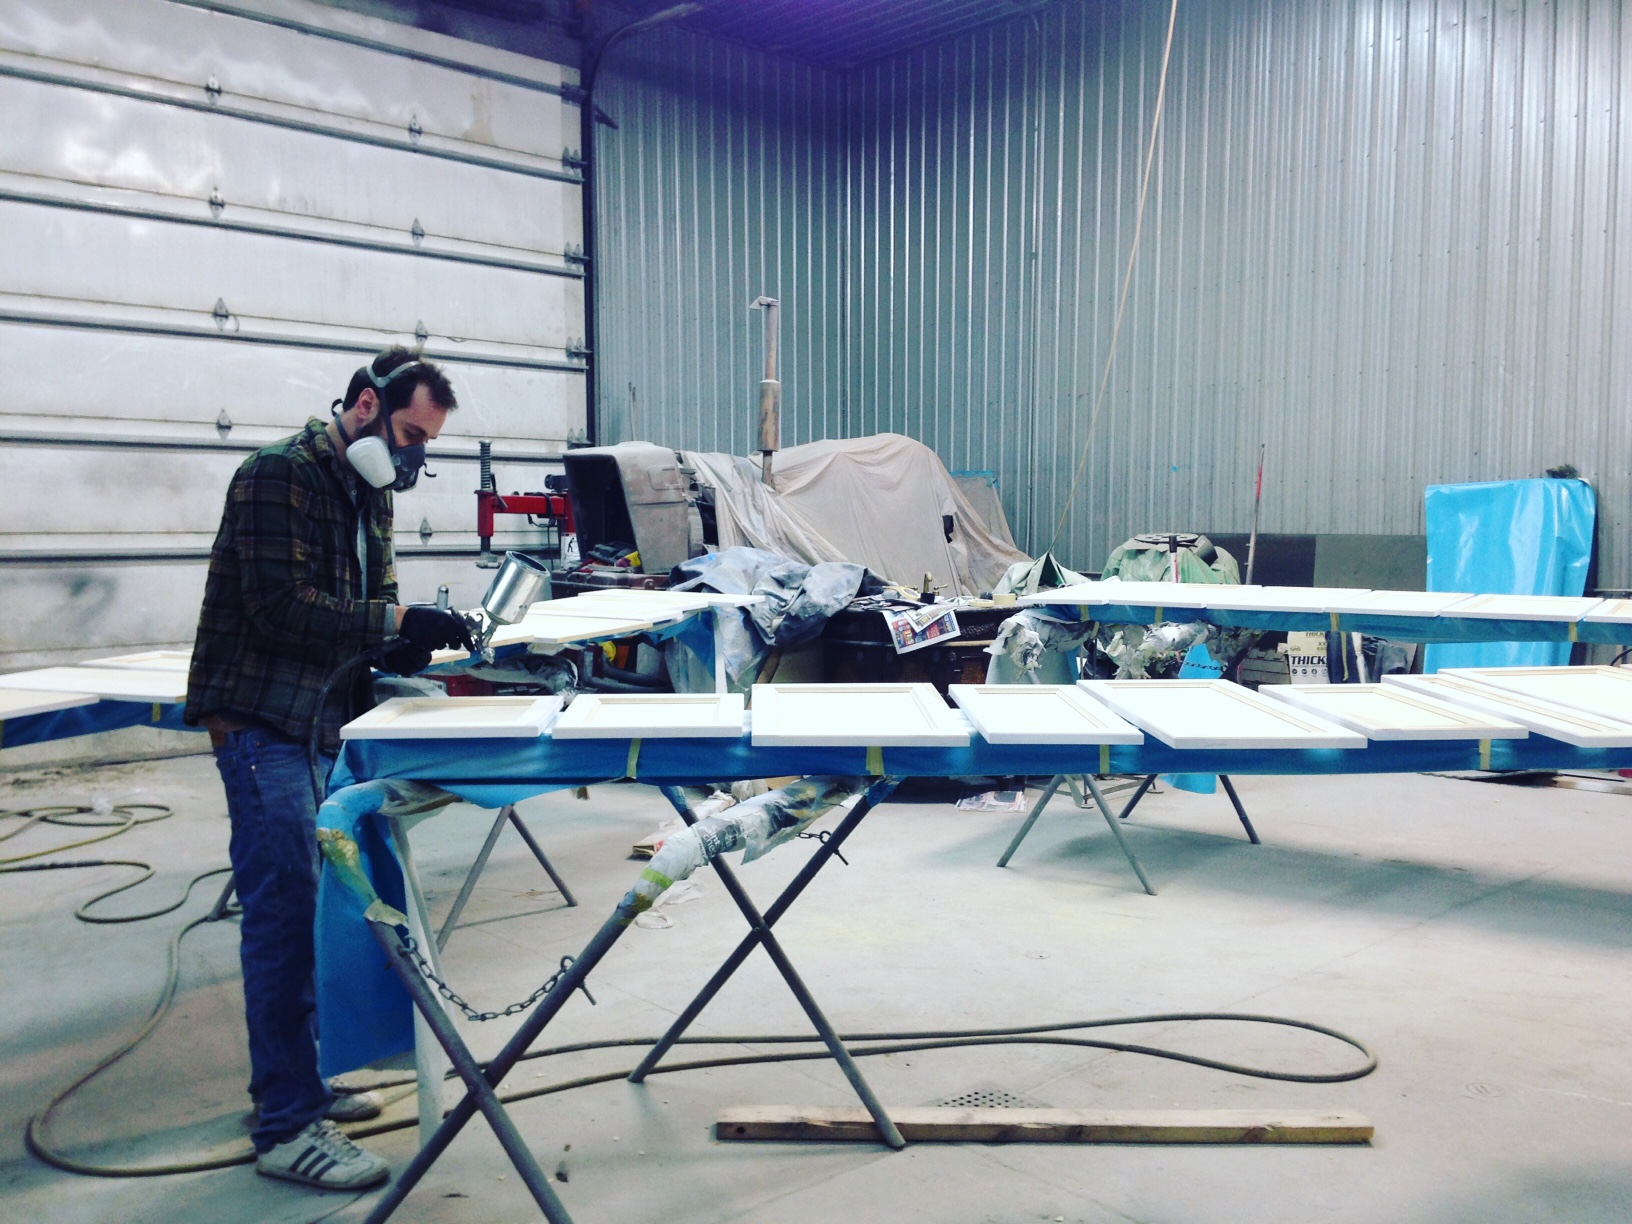 On a regular basis, I hear people casually claim, "I'm such a perfectionist." However, I've come to realize that most who claim to be perfectionists are either fair-weather ones or people who have a tendency to exaggerate. That said, Kyle is a perfectionist painter. It may be because Kyle is around paint so much in his line of work, but the time and attention to detail he devoted to our kitchen cabinets is nothing short of that of a perfectionist. Aside from drying wait times, in which he ate and caught snippets of his Giants game, Kyle spent morning until night until morning again-- Sunday right into Monday (3 a.m. Monday to be exact), prepping the shop, sanding, and spraying coat after coat of primer and paint on all of the doors for our cabinets. I paid a visit to the shop late Sunday afternoon to see how it was going. I was curious about how the spray gun worked and what the set up would look like. On walking into the space, I was shocked by how extensive the process is. Kyle had to empty a huge span of the shop of its vehicles, increase the heat so that the paint dried properly, and lay all of the cabinet doors out on stands so that he could evenly paint, dry, and flip them to do both sides. While there, I watched as he carefully measured out the paint and poured it into the spray gun. The spray gun was not what I imagined it would look like; it almost looks like a pistol and the paint is poured into it with a funnel. After, the gun is attached to a long hose and to spray, you have to hold down the trigger and aim over the surface. Kyle wore a ventilation mask, which was definitely needed. Even though I was only briefly in the shop, the chemical smell of the paint was so strong that it stung my eyes and filled my nose. After a very short rest in the early hours of Monday morning, Kyle was up to move the cabinets out of the shop before the workday began and transported them over to 212. He is now understandably exhausted, but the cabinets are done, and, while he would never give himself as much credit, they are perfect. 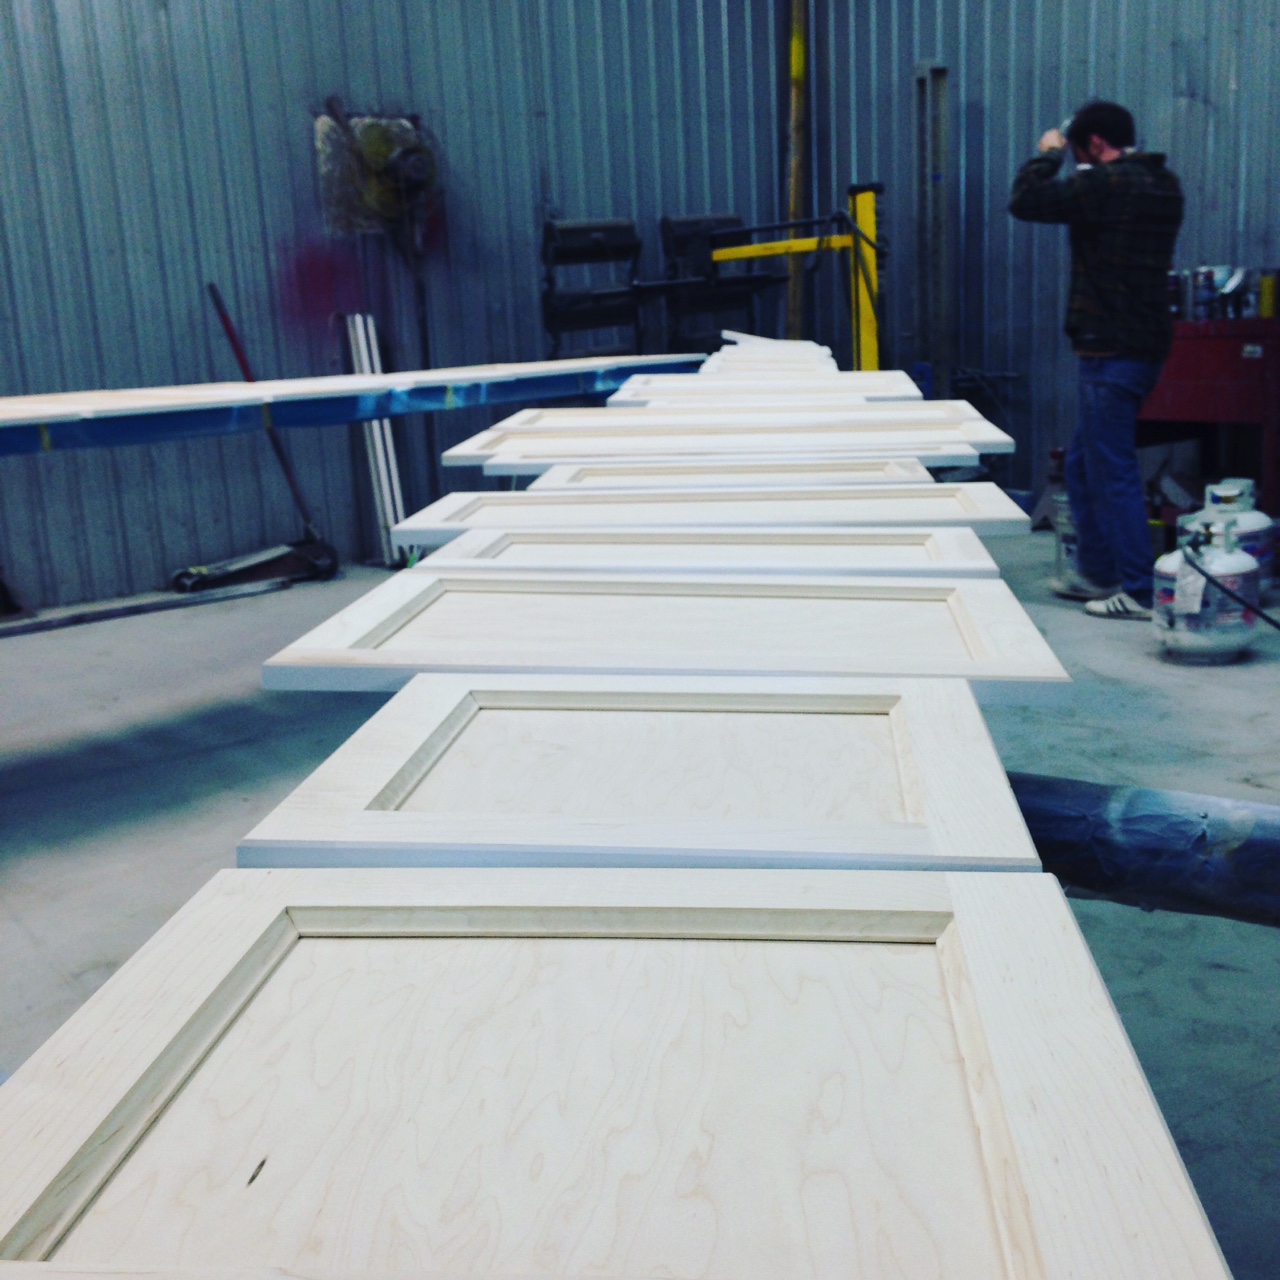 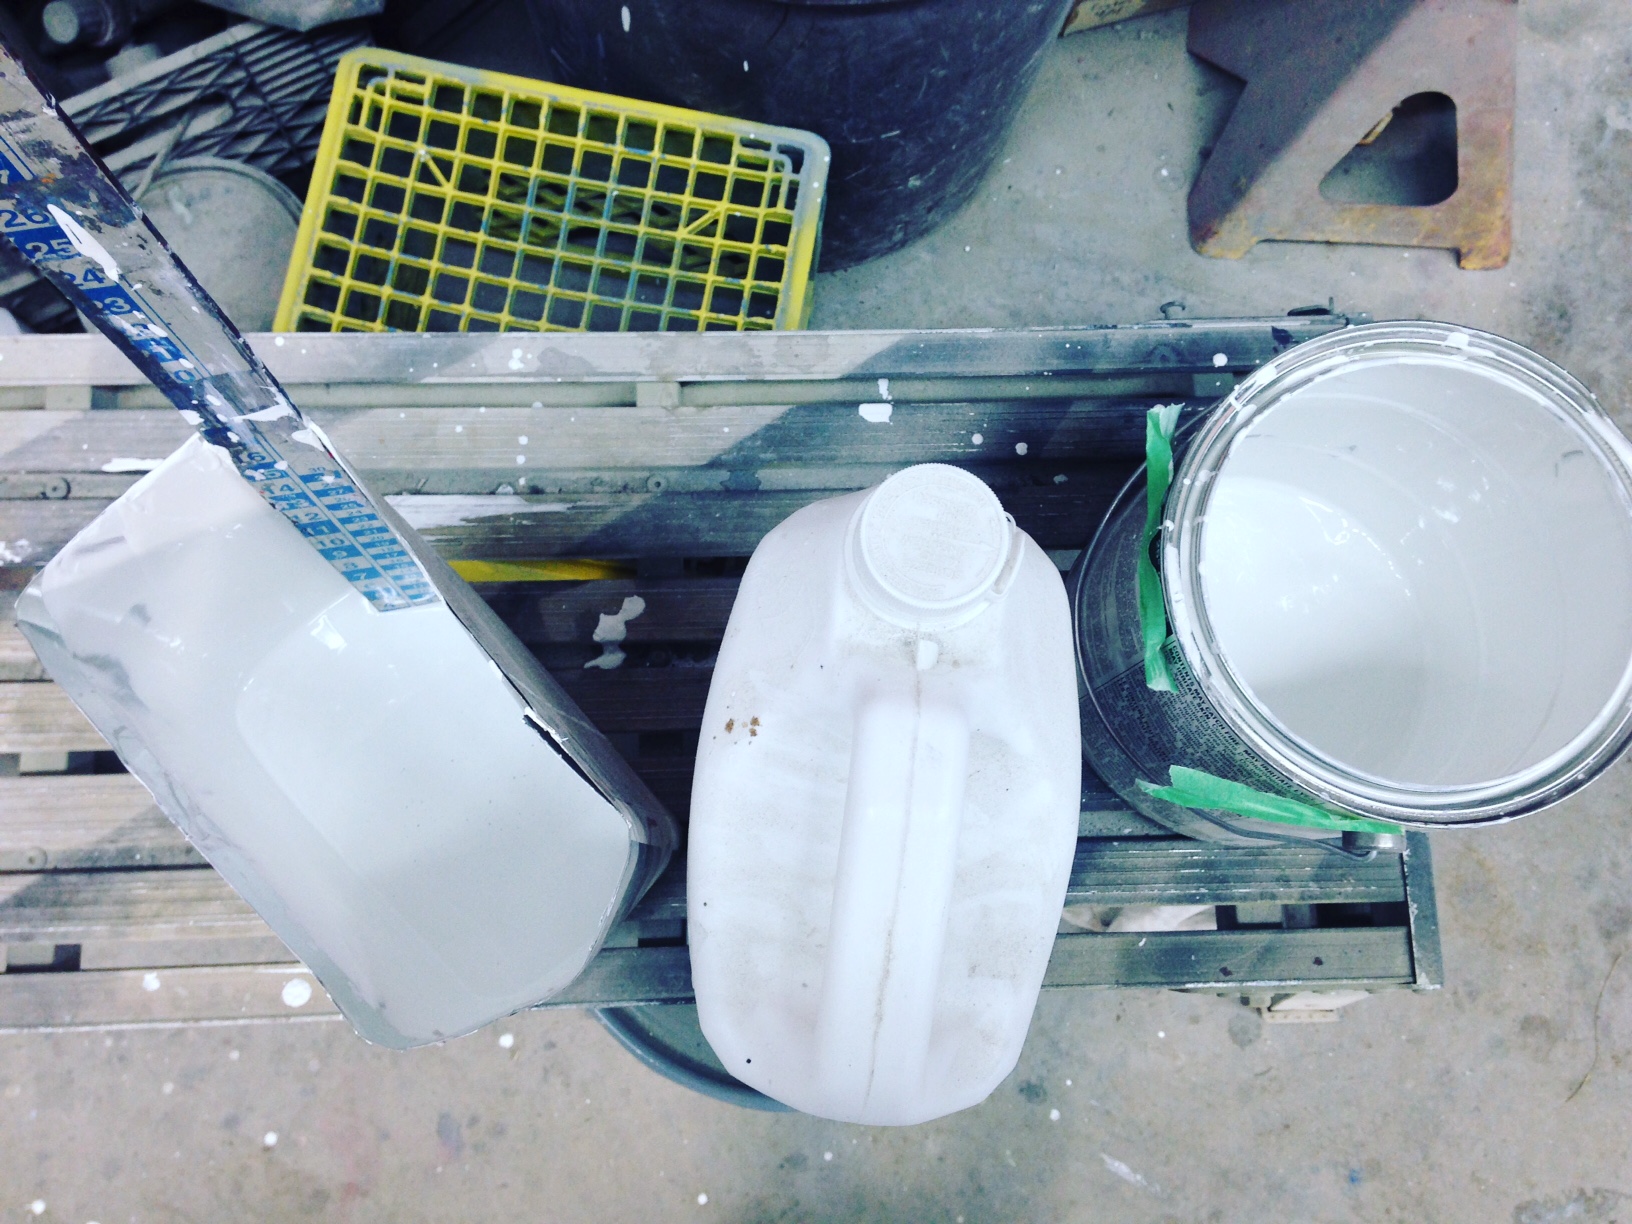 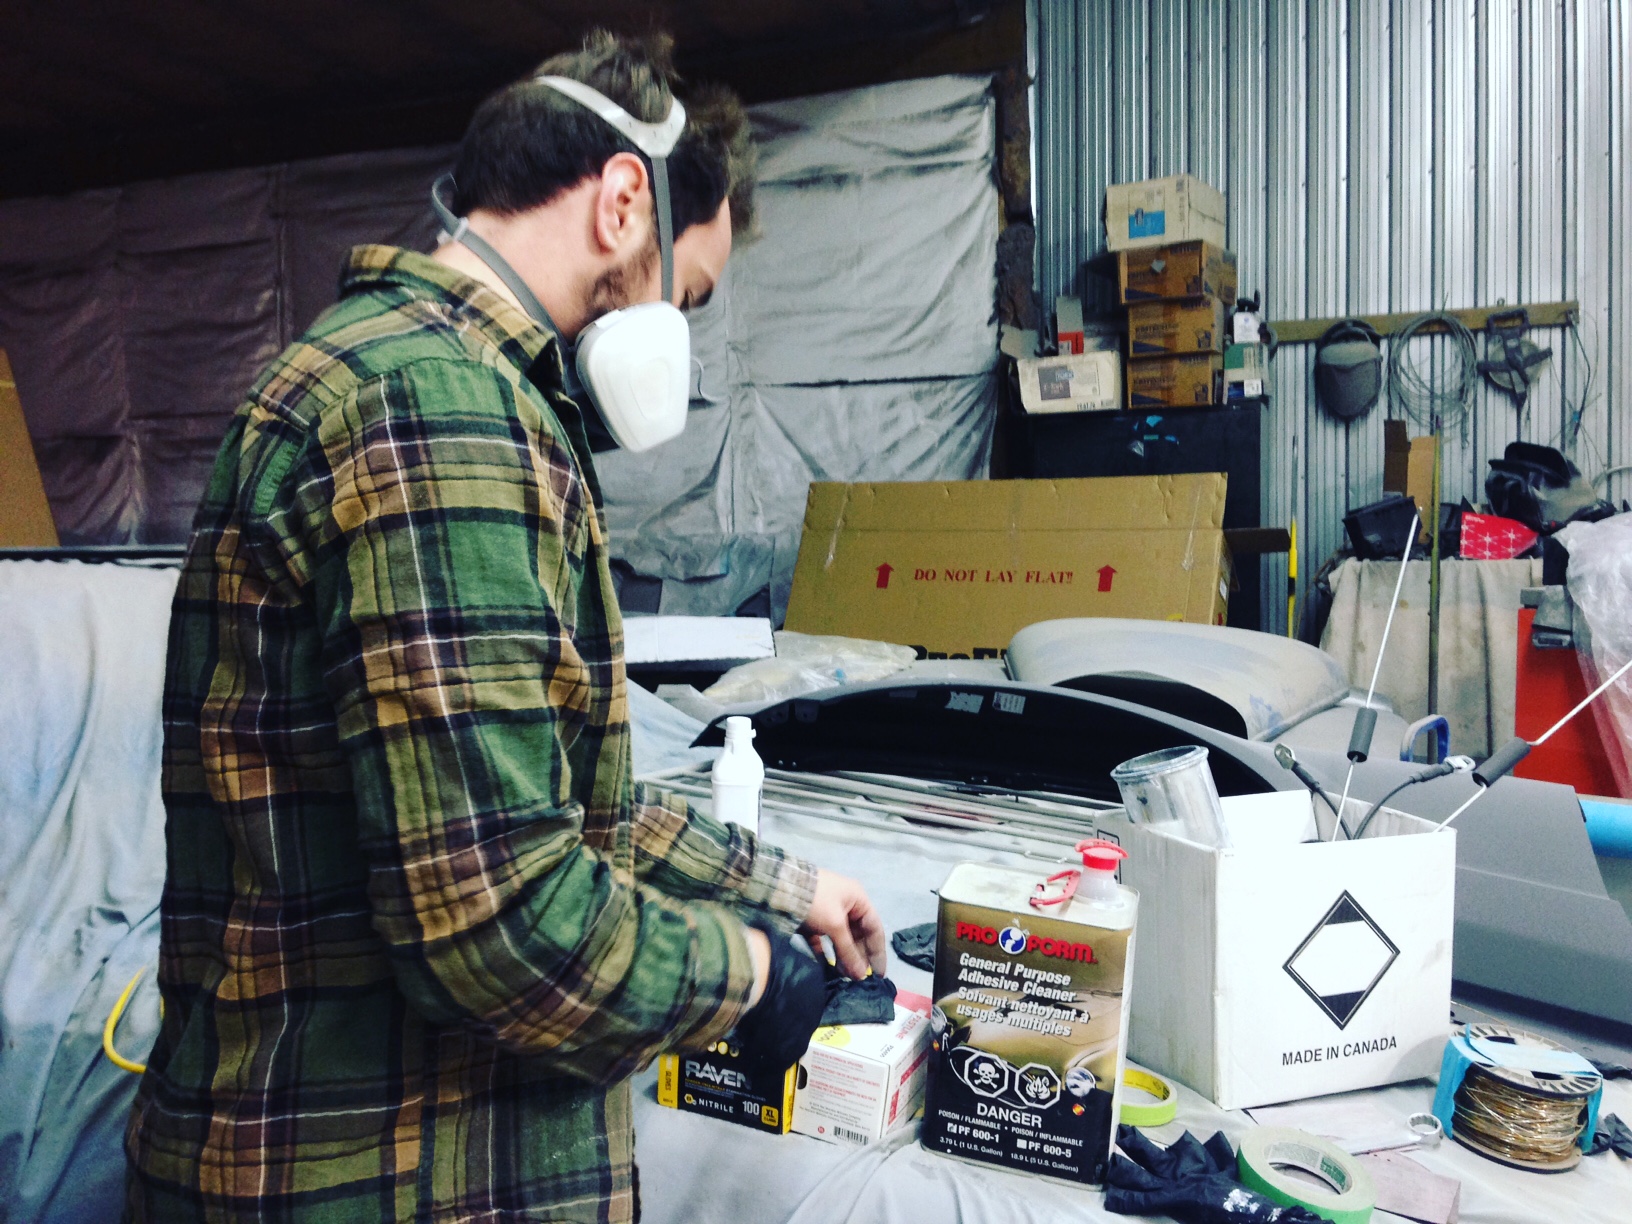  While the bathroom and kitchen are being tiled and finalized, I am touring furniture stores, looking for cute, but affordable finds for the house. Furnishing a house can easily become a fortune, but there are many sources for deals and creative alternatives to buying new and financing. My favourite furniture find so far is this feminine floral chair. I discovered it in the Collingwood Re-Use It Centre, among rows of other chairs and tables. It is in mint condition and has that sweet, vintage look that I want in my library. This chair is the perfect size for the slanted ceilings and cozy feel of the room, and was only $25.00! In addition to the chair, I found a dresser, which will be used as a TV stand and storage in the living room. The dresser drawers were painted black, with the rest left bare wood, so I primed and painted it a pale blue. Then, to add a pretty touch to the dresser, I found four porcelain drawer knobs with pale blue flowers on them. I love how this detail can uplift and add personality to what was before plain and cheap looking. Here are four furniture/ decor shopping tips I've picked up so far: 1) Look around before committing to a purchase, whether it be a chair or a picture. I almost bought a large print for the living room in the first store I went into. I really liked it and instantly imagined it above the couch on the wall, but my friend convinced me to wait and look around. I am so glad that I did, because later that day at a different store, I found a similar print, but I loved it much more. It was also for a more affordable price. 2) Go for neutrals when buying bigger items or pieces that will be on display all year round. It is okay to add in pops of colour and pattern with details like pillows and throws, because these are easy to change out, but things like tables and chairs and lamps should be easily coordinated with and not too trendy. 3) Find a colour palette for your room from a piece of art. I have decided that I want to make the print I bought a focal point in the living room, so I am going to choose accents (like pillows), that pull out the blues, greens, browns, and golds in it. 4) Take your time when furniture shopping and decorating. It is better to slowly build each room than flood the house with items that may not even work together in the end. 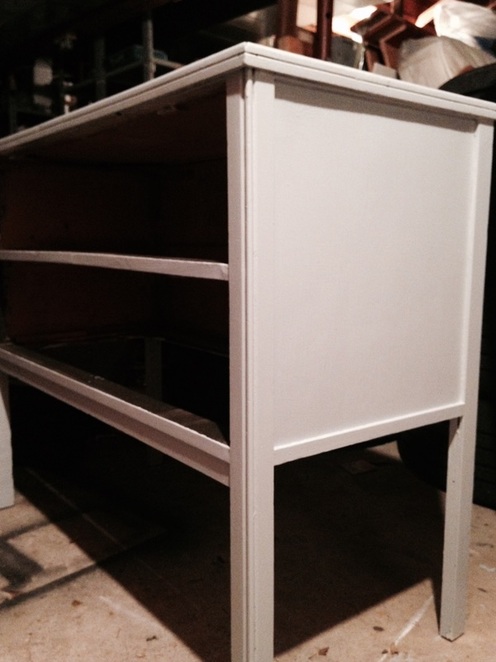  Of course Christmas decor had to be considered. Watch for my holiday finds and my dresser reveal in the coming posts :).  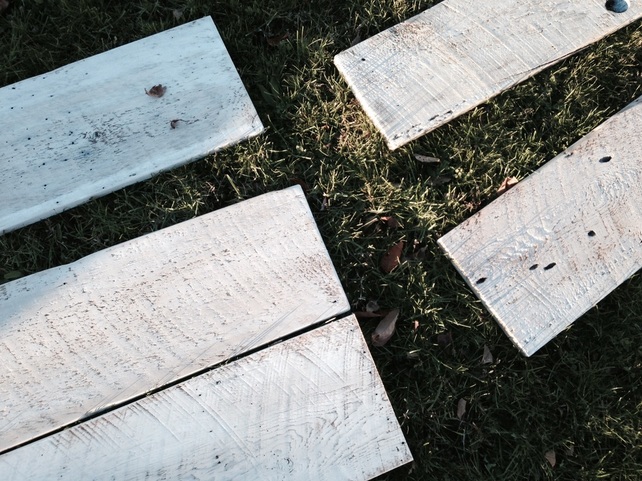 Today my sister and I got out the power tools and did the first real reconstruction DIY project for 212. We used some of the long wood planks that Kyle and I pulled off the walls and made a coffee table for the living room. First, we brushed off the old cobwebs and dust using a damp cloth. Being over a hundred years old meant that the wood was not squeaky clean. After, we measured the boards to make sure that they were all the same length and my sister cut them accordingly. We sanded down the sides using an electric sander and removed any old nails. I was amazed how much of a difference these steps made for the wood's overall appearance! Following the sanding, we white-washed using white latex paint mixed with a little water. Each board was left for a few minutes to dry in the sun before we screwed them to a central board that acts as part of the base underneath. For the table legs I have decided to use steel piping, to give it that industrial look. 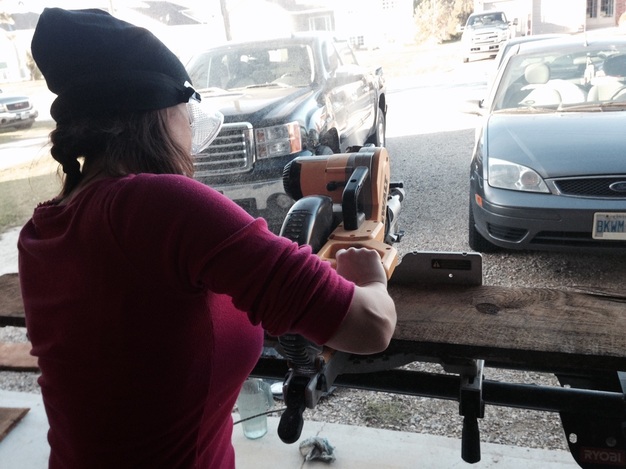 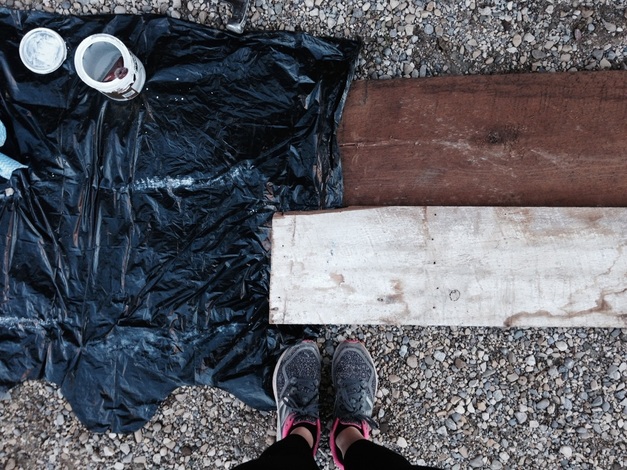 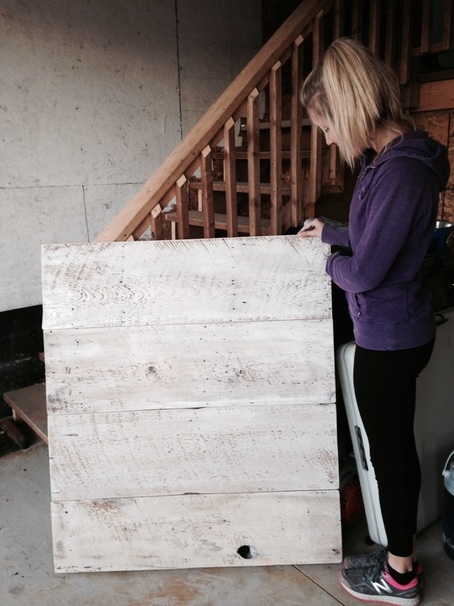 I am so pleased with how the table turned out! I always planned to have a statement piece on the coffee table that told a little about the house, but now the table itself is a part of the narrative. SIDE NOTE: On top of the coffee table construction this weekend, I also attended the Christmas Show at the BMC. I gathered some great home decor inspiration and got to spend time with these two :).   I would like you to note two things in this Halloween picture: Number One- We have hardwood floors! Number Two- We are happily INSIDE our house for Halloween this year! Now before you get too excited, Kyle and I have not yet moved in, but we decided to sparsely decorate our living room with a couple of couches and a TV and DVD player for last night. I have to say that, despite our lack of trim and the overall dustiness of the house, with the lights and heat and some of our dearest friends, it didn't take much to pretend that we had already moved in... Soon! Over the last few weeks, 212 has undergone some major changes. We now have all new windows installed and trimmed. They just need to be capped on the exterior of the house and we are planning on painting the trim on the interior white. I am excited about the look of the window trim, with its decorative edges and deep ledges. Even though the inside of our house is new and modern, for safety and energy efficiency reasons, we still want to have details that honour the age of the house. We have started looking on Kijiji for furniture pieces, like a chair for the library, that will also help us to highlight the Victorian roots of 212. The focus over the next two weeks is the kitchen and upstairs bathroom. Keep watch for our grand reveal this month. I am going to do a "Before and After" for each of the rooms in the house, to see just how much work we've done in the last year. [SIDE NOTE: While I slacked on the Halloween decor this year, with a single Jack' O' Lantern on our sawdust strewn porch, I have already started thinking about dressing it up for the holidays. I will not disappoint ;).]  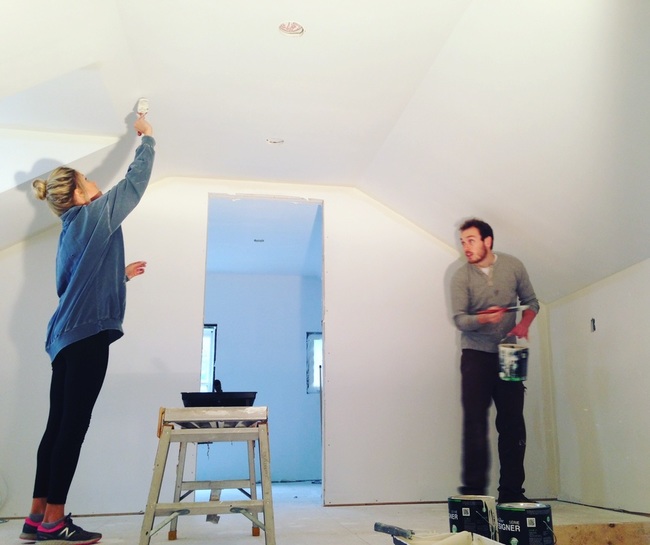 Dear faithful blog followers, My absence over these last few weeks was not the result of us giving up on 212; rather, it was me stockpiling all of the progress so that this blog post could be a double dose of exciting. SOOO.... We now have real house walls! AND colour! Painting was our most recent project, and I can proudly say that we were able to complete all of the bedrooms, the living room, kitchen, foyer, library, and bathroom in one weekend! (Thank you to my parents for lending a hand on Sunday :)). While I have mentioned countless times on this blog that I couldn't wait to pick out the colours, when Kyle and I actually went into the hardware store Friday, it was more than a little daunting. As Kyle said, we spent so much time taking down the walls and rebuilding that there was pressure in choosing colours that were special and didn't take away from the grand finish. We ended up choosing our most neutral colour first, which we put in the living room, foyer, library, and laundry room. This colour is a pale cream called "Cappuccino White," and acts to anchor the house and connect all of the other colours together. Friday was spent cutting in and painting the living room and foyer. On Saturday, we moved on to the library and laundry room. We also chose the colours for the master bedroom--a pale green, and the bathroom-- a teal-like blue. The ladies at Home Hardware were incredibly helpful, giving us colour cards and books until we could settle on shades we liked. Admittedly, we probably now have half of their colour book inventory cluttering my desk and Kyle's dashboard! Sunday was spent painting the bedroom, spare room, bathroom, and kitchen. The most difficult thing about this painting day was picking the kitchen and spare room colours. We wanted colours that went with the colour story of the rest of the house, but we didn't want them to be boring and blend in. "Oyster Shell" is this pretty brown colour that we picked for the kitchen and "Satin Sheets" is a mauve-grey that is in the spare room. Again, thank you to Home Hardware for your patience with our many visits this weekend! The house is so different to walk through now. Each room is beginning to have personality again, and has a warmth that hasn't existed since we started the reno last fall. The next steps are: flooring, trim, and windows :). 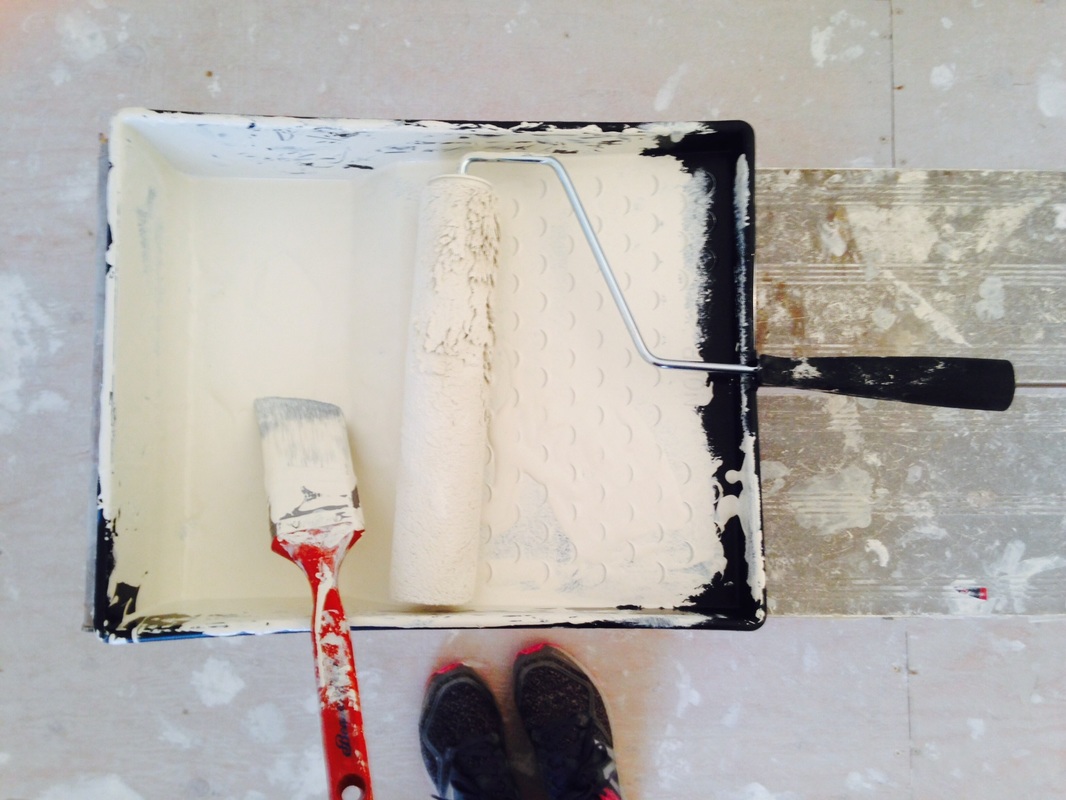 "Cappuccino White" in the foyer, living room, library, and laundry room. 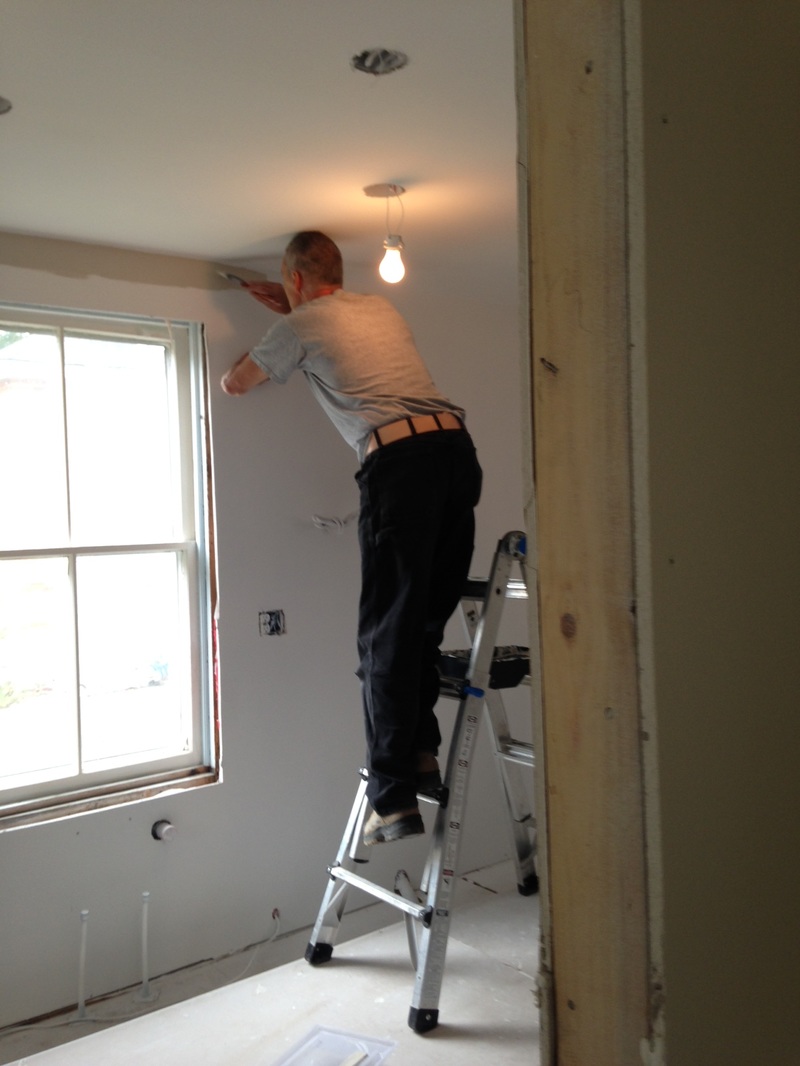 "Oyster Shell" in the kitchen. 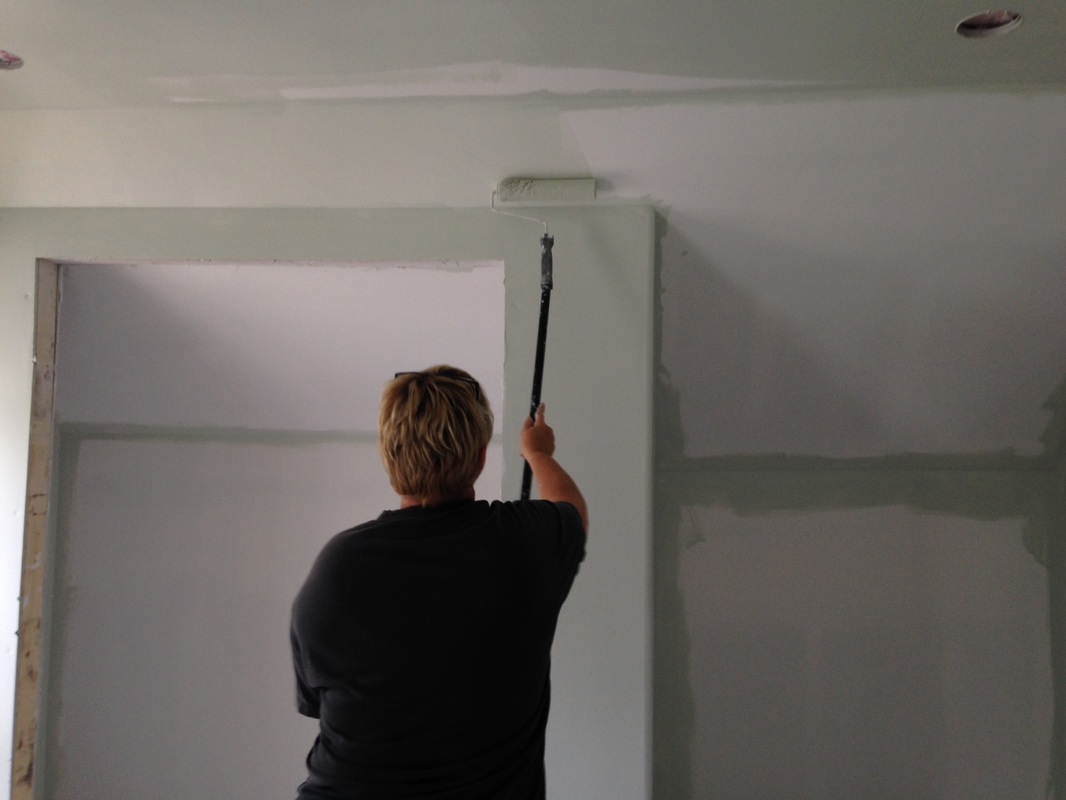 The sea foam green in the master bedroom. 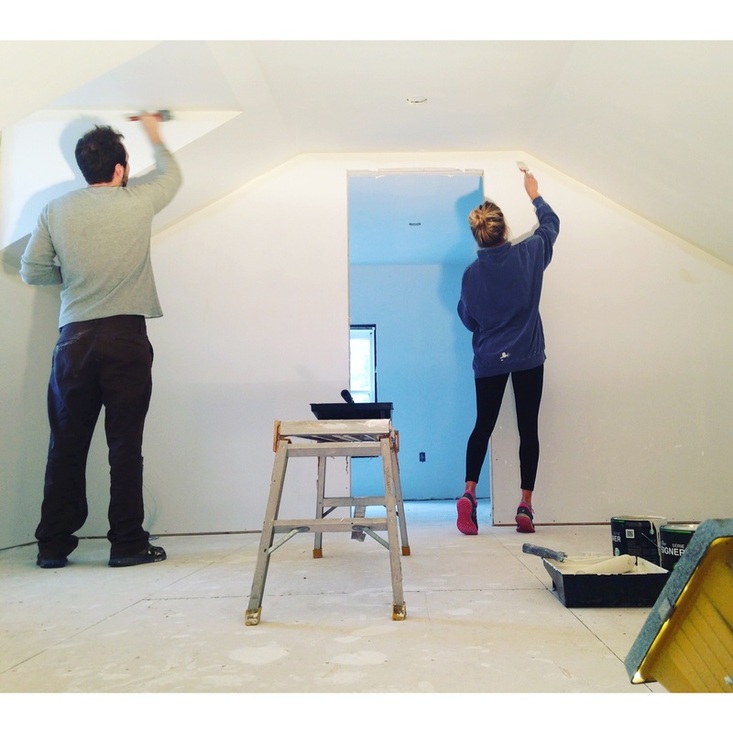 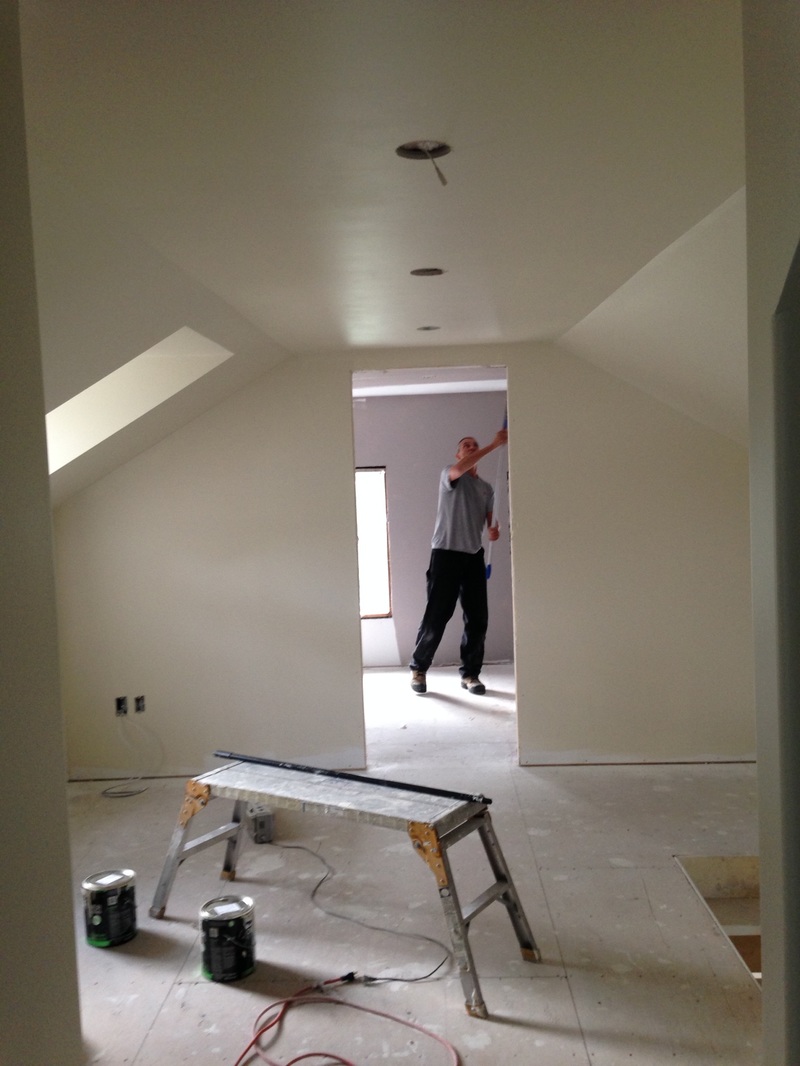 A sneak peek of "Satin Sheets" in the spare room. 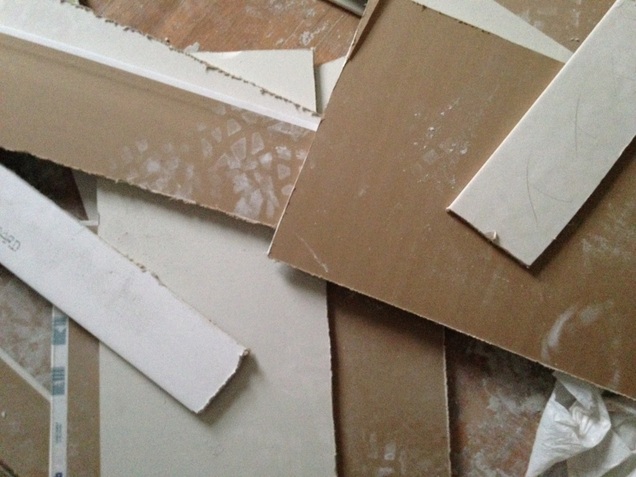 We are again in the season of wooly scarves, potted mums, and the spice of dying leaves, and 212 is in the final stretch of renovations. Funnily enough, I received a notification on Facebook this week about it being the one year anniversary of this blog. How weird it is to think back to the very beginning of this house! ...The drywall phase is upon us! Just to recap, after tearing down layers and layers of old insulation, lathe and plaster, and buried treasures, we re-framed, insulated, and vapour barriered the walls. After we are finished drywall, we will move onto taping, then the very last step, which is painting. Who knew walls were such a complicated process?! So far, the first floor is all drywalled. The house kind of feels like you're on the inside of a cake box, as the crisp white drywall has closed up the rooms, and you can no longer slip through the walls like a ghost. That said, I much prefer the closed in walls to bare framing, because that means that 212 is almost liveable :). Kyle and I spent last weekend finishing up the vapour barrier. Then, Kyle and his dad put in many hours in the kitchen and front entrance, measuring, cutting, and setting up the drywall boards. These boards are super heavy and chalky along the edges. What is tricky about the drywall (besides the weight) is that circles have to be cut out for each of the light fixtures before they are nailed. This is especially tricky on the ceiling, where there are multiple pot lights to consider. We now have hired workers to finish up the drywall for us. After only a couple of hours in the house on Friday, it is incredible the progress that they made. I guess this shows how you really cannot underestimate the skill and precision of trained tradespeople. Having a company come in speeds everything up and ensures that it is topnotch. Drywall was unimaginable just a month ago and now, seeing real walls drives us on with new hope that there is an end. Hope you felt a similar drive this first week of the new school year! 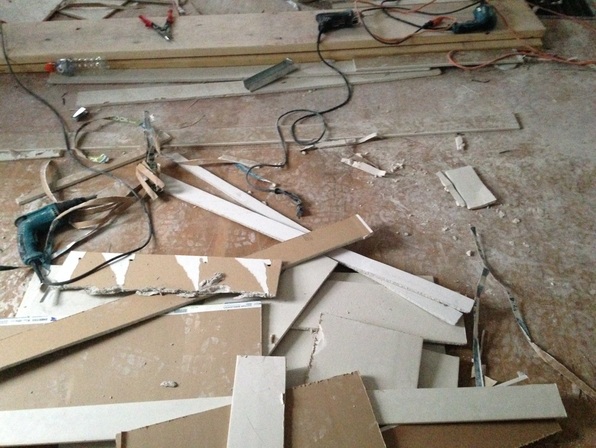  Whether it's Anne Hathaway's character in The Devil Wears Prada or in our case, a home renovation makeover, everyone loves a good "Before" and "After." That said, I am so pleased with the transformation that took place at our house this weekend :). Our "Before" and "After" at 212 began bright and early on Saturday morning (sorry to anyone on the street who had planned on sleeping in :p). A friend of the family brought over his tractor and ripped out all of the shrubs, the gangly spruce tree, and two other small trees on the side of the house. What a difference a blank canvas makes for the overall appearance and feeling of 212! Thank you to my mom and dad for helping to organize this shrub/ tree pull, and for helping with the debris clean up that followed. We plan on putting shrubs around the living room window and smaller plants along the front of the porch. We are not yet sure if we will do spindles and a railing along the porch opening, or leave it as it is. I kind of like the open feel of it right now, and imagine making it cozy with a couple of chairs and potted plants. The work was not isolated to the exterior of the house; Kyle and my dad worked hard inside and made a lot of progress. We are finishing up with the vapour barrier this week, and plan to be on to the next step by the weekend. I am hoping that these recent improvements to the house's looks will help to change 212's reputation according to the neighbourhood kids. While sweeping off the front porch this week, a young girl from down the street scootered up to me and asked if the house was haunted, explaining that her brother told her it was. She went on to say that her mom uses "the castle house," (a beautiful home a couple of doors down from us), and "the haunted house" as markers for where she and her siblings are allowed to bike and scooter before turning around to come back home. I had to laugh, but made a mental note to make 212 as non-haunted looking as possible before moving in. 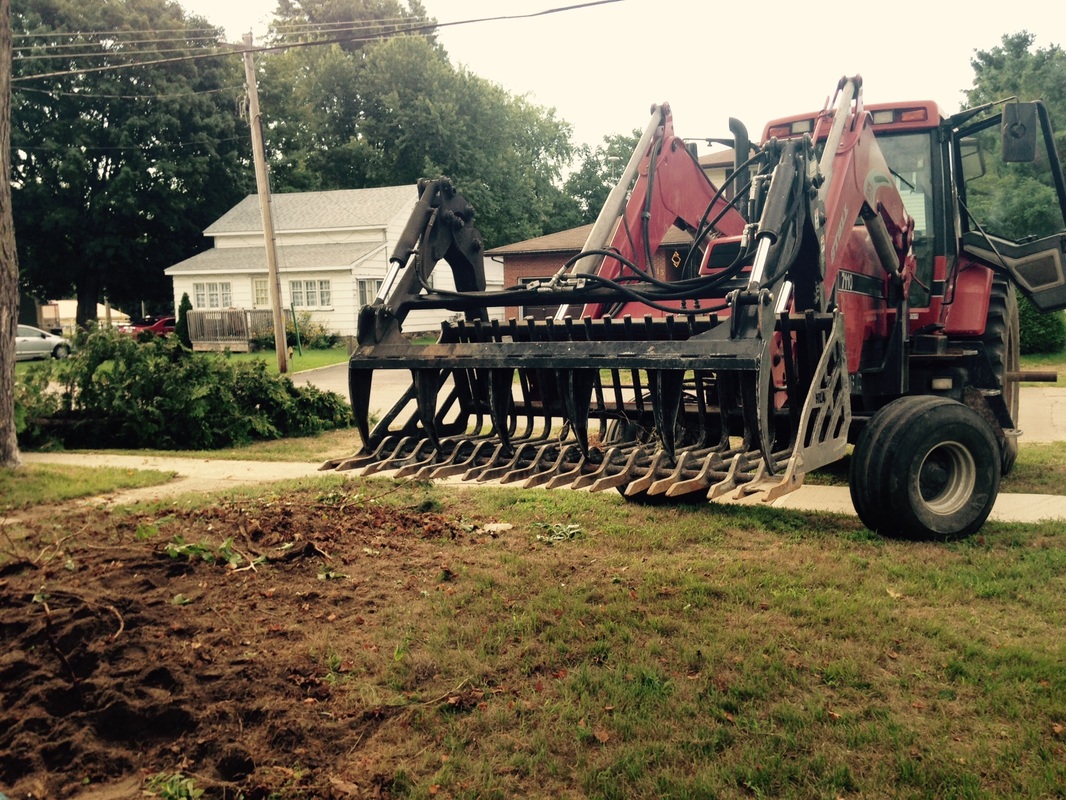  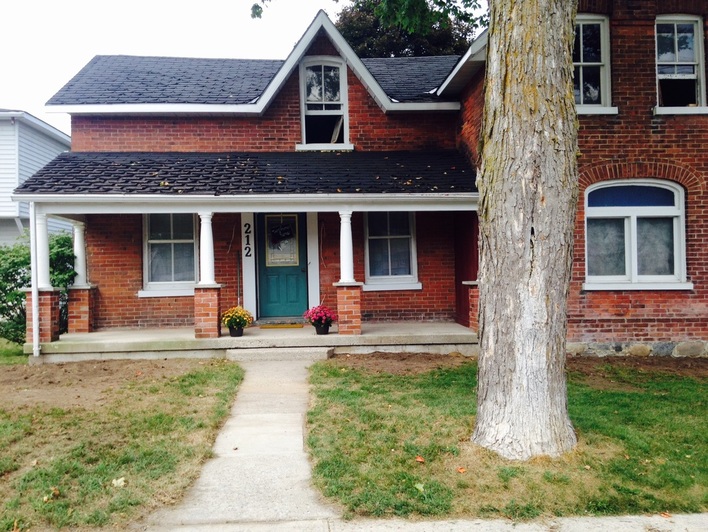 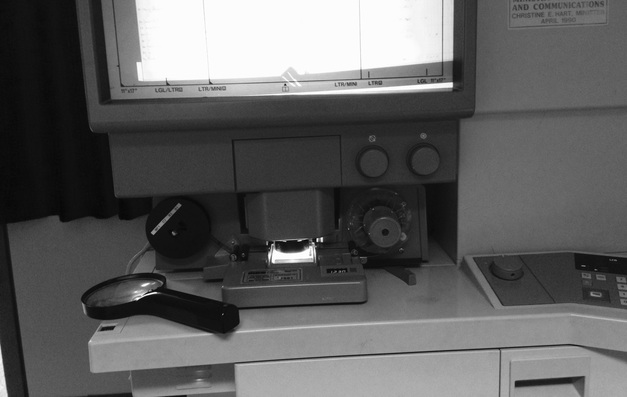 I revisited the Simcoe County Archives to continue my search for the first owner of our house. This time, I brought the Land Registry records that I found last fall, which contain the lot number and the blurry name of what Kyle and I read as "John A. McDonald." You will recall from previous blog posts that we were a little sceptical that that was actually his name, but with nothing else to go on, I approached the lady at the front desk of the Archives and told her with as much fake confidence as I could muster that I was looking for information on John A. McDonald of Stayner. If she thought it was funny, she didn't show it, and took me directly into a back room where an old microfilm machine was located. She brought out the tax assessment microfilm for 1896 and loaded the machine for me. If you ever find yourself at the Archives, I hope that you have the pleasure of being assisted by this lady; she was so knowledgable and had this very gentle, primary school teacher way about her that made me feel like I could ask her for help with anything, even about how to find John A. McDonald. After the Archives lady gave me a refresher on the microfilm machine, she scrolled forward to the Stayner records and I got to work. I scanned through the names, paying close attention to the street names. Luckily, I did not have to go far at all on the reel before I found John A. McDonald! Our squinty-eyed judgment of the land registry document was right after all! I was so excited and surprised that I ended up going out to the desk to tell the lady that I had found my guy. She responded with equal enthusiasm, though I'm not sure if she was just humouring me. The tax assessments include information about a land owner's address, property size and value, the number of people living on the land, the owner's age, and his or her profession. Speaking of profession, I noticed, not surprisingly, that most owners in Stayner were farmers or labourers; however there were some funny professions too. Some men stated their profession as "Gentleman"-- what did that involve?!-- and the few women who were listed in the assessment were either "W" for Widow, or Spinster, which I find to be a little unkind. After locating John's name in the assessment, I learned that he was 22 years old when he took ownership at 212, which was called Lot D of North Sunnidale at that time. In 1896, you had to be 21 years old to be a landowner, so John A. McDonald was presumably very keen to be in control of his life and investments and sought his own property right away. The 212 property was worth $275.00 at that time, and had a dwelling on it but no barn. John's profession was Brick-maker. According to these records, he was not married and had no children. Before leaving the Archives, I looked at the 1901 microfilm, which could have told me if John A. McDonald would be in the 1901 census reports for 212. Unfortunately he was not, which means that he moved before the census was completed. My next place to look will be the online archives and census reports. I am still going to look at the 1901 census, but for information on the second owner of 212, which was Angus Buie. I know, from artifacts found during the renovations, that Angus had a family, so I am curious to learn more about them. 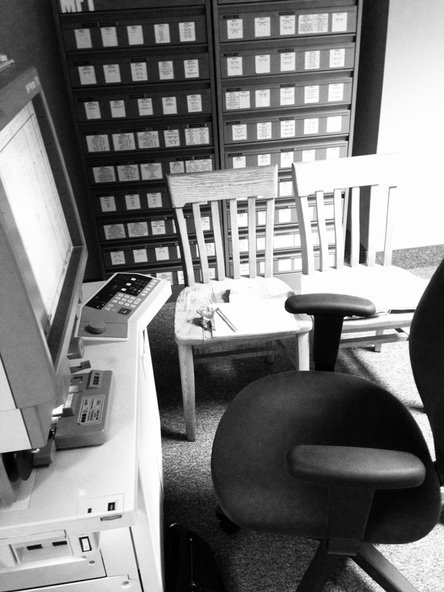 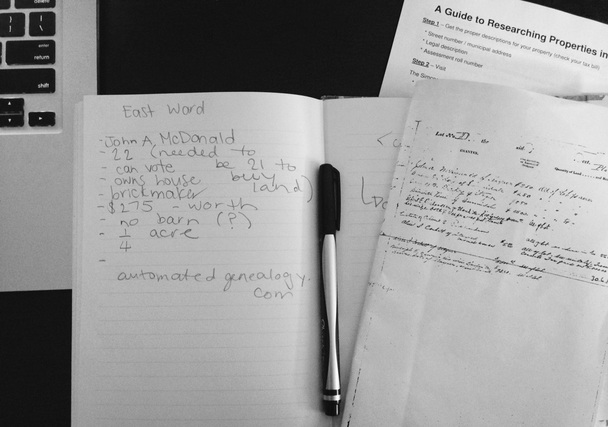 It is crazy how old-school it is at the Simcoe County Archives. When I asked if there were plans to convert the old microfilm to online documents, the Archives lady said that, because of the low government funding of the museum and archiving, she doesn't foresee it happening for a long time.
While the messy, sometimes indecipherable writing on the microfilms require a magnifying glass and patience, I have to admit that it was kind of fun using such an archaic machine and means of research. Sometimes, there are perks to being forced to slow down and really take in the details. *NOTE: Check out the HISTORY/ RESEARCH page of my blog (click on the sub heading in the top right corner), for links to the Simcoe County Archives and other useful researching sites. 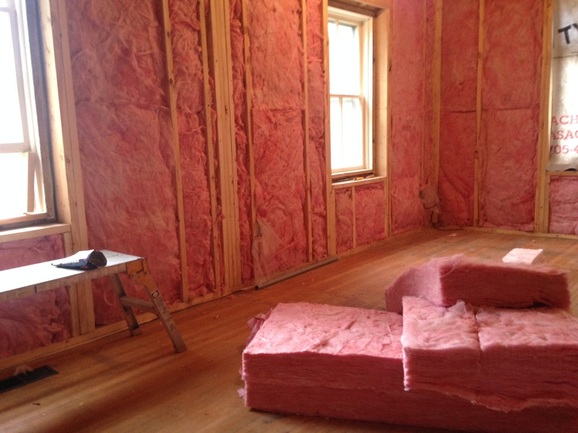 That annoyingly catchy Christmas song, "It's A Marshmallow World" that seems to play on repeat on the radio in December was the theme song at 212 this weekend. It was partially Kyle's fault, for constantly singing the first line as we worked, but I have to admit that our house also did start to look a lot like the inside of a pink marshmallow. This week's tasks? Finish the wiring, the inspection (which we passed!), and begin insulation. Kyle and I spent Saturday and Sunday insulating and I am proud to say that we finished the whole downstairs and upstairs! A few friends advised wearing long sleeved shirts and pants, saying that it was going to be unbearably itchy. However, in comparison to the old insulation that we encountered while tearing down the lathe and plaster last summer, this new pink insulation was not bad at all. We ended up wearing shorts and tee shirts, but using rubber gloves and face masks, and I am so glad that we did because we were sweating buckets. On Saturday, Kyle and I focused on the living room and kitchen downstairs. We both started at opposite ends of the room and worked our way around to each other. We moved upstairs on Sunday and, overall, it was a pretty quick and rewarding job. 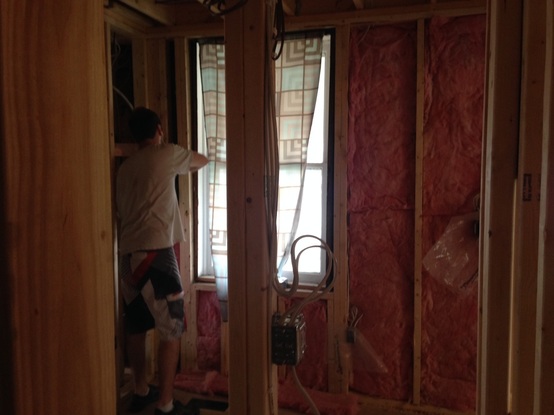 Here are some tricks and tips that I learned about insulating: 1) Measure out the strips of insulation as carefully as you can by leaning it against the space you are putting it in, and make a slight mark with your exacto knife where you need to cut if the piece is too big. Then, lay it down on the floor to cut. If you want to be precise, use a piece of wood or a measuring stick as a guide while you cut. 2) Use as big a piece of insulation as you can when filling spaces. If you cut the insulation too much, it makes for a harder time filling in the cracks and you risk having a draft in the end. 3) Make sure that you fill in all of the cracks and pockets in the walls. This helps to make the walls more air tight. 4) Lock your exacto knife blade before you use it so that it doesn't slide down or cut you. Also, always cut away from your body. Next Week's Forecast: another big clean-up, DIY, and maybe even drywall :).  |
About MeKyle and I just became new homeowners. The house we purchased is not what one would classify as "move in ready"; in fact, it is quite the opposite. Built at the turn of the 20th century, our Victorian style house is both beautiful and terrifying in its ancient status and will be a project in renovation. This is a documentation of our triumphs and lessons learned, as we deconstruct and reconstruct this house. The end result? A space that we can proudly say we created. Archives
December 2016
Categories |
Deconstruction-Reconstruction
 RSS Feed
